
Editing samples
Trim the playback range
Section titled “Trim the playback range”- Open the pad’s settings and choose Edit.
- Play the waveform to audition it. Drag the start and end handles to keep the section you want.
- Play the selection again, then click Save Edit.
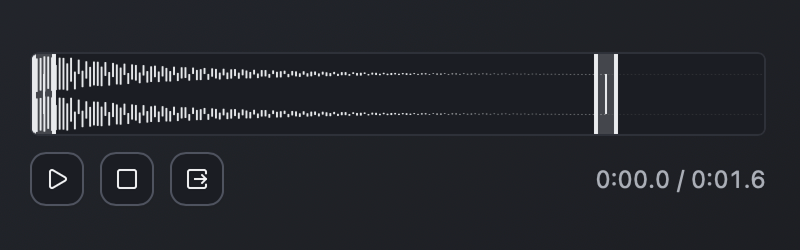
The original WAV is retained. You can reopen Edit later and move the handles outward to restore more of the sound. Trimming the end adds a short automatic fade to reduce clicks at the cut.
The same waveform controls are available while previewing a generated sample. A successful regeneration replaces that preview and resets the trim to the new sound’s full range.
Playback and keyboard controls
Section titled “Playback and keyboard controls”Use Play/Pause and Stop to audition the selection, or click the waveform to move the playhead. With a trim handle focused, use the arrow keys to adjust it by 0.1 seconds, or Shift plus an arrow key for 1 second.
Preview audio goes through the instrument’s master volume and your DAW track’s effects. The exported WAV contains the selected audio range without that master gain or those effects.
Change a pad’s configuration
Section titled “Change a pad’s configuration”In Configure, change the sample name, MIDI note, or voice mode, then click Save Configuration.
- Polyphonic: repeated hits on the pad can overlap.
- Monophonic: a new hit stops that pad’s previous hit and starts it again.
Each pad needs a distinct MIDI note. Changing that note changes which key triggers the sample; it does not change the sample’s pitch.
Clear a pad
Section titled “Clear a pad”Click the trash icon in Configure and confirm to clear the sample. The pad keeps its MIDI note and voice mode. To preserve the sound first, save the current kit as a preset or export its WAV.
Closing settings without saving discards the current draft. After a successful edit, save your kit preset or DAW project if you want to retain the change there too.